
HEADWATER / SETUP & CARE
Your Headwater, step by step.
First install or fresh filter? Pick your guide and follow along at your own pace.
Need a hand? ↗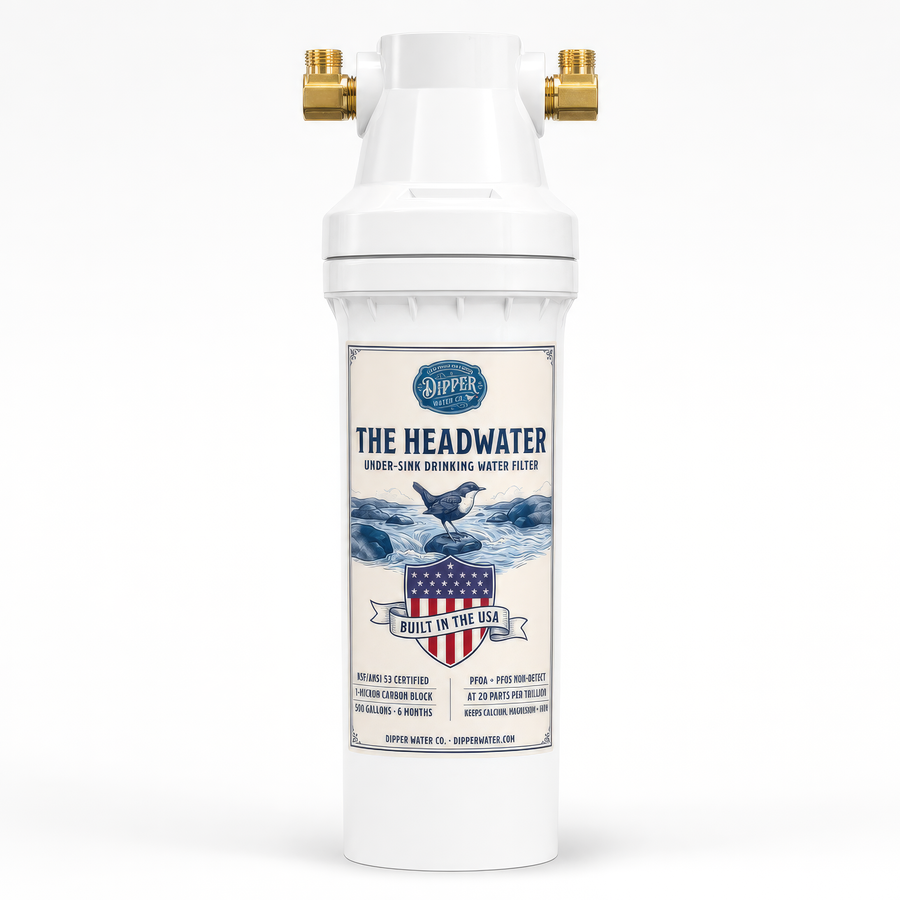
Install Headwater
Meet your new water.
About 10 minutes, including a 5-minute flush. Your faucet stays put.
Before you start
- Have ready: adjustable wrench, screwdriver, towel, and small bowl.
- In the box: Headwater with first cartridge, mounting head and bracket, screws, and braided connector hose.
- Check first: a working cold-water shutoff and matching 3/8-inch compression fittings.
Cold water off. Pressure out.
Headwater has no automatic shutoff. Close the cold-water valve and release pressure at the faucet before disconnecting a hose or changing a cartridge.
- Cold-water valveIncluded braided hose
- HeadwaterIN → filter → OUT
- Your faucetExisting faucet hose
- Step 01
Turn off the cold water.
Open your faucet on cold. Close the cold-water valve under your sink until the water stops.
Leave the faucet open briefly to release pressure, then close it.
If water keeps flowing, stop. Do not disconnect a hose.
- Step 02
Disconnect the faucet hose.
Put a towel and small bowl under the cold-water valve. Use an adjustable wrench to turn the hose nut counterclockwise and loosen it.
Keep the other end of this hose attached to your faucet. A little trapped water may spill.
- Step 03
Connect your Headwater.
- Connect the included braided inlet hose to the cold-water valve.
- Connect your existing faucet hose to the Headwater outlet.
- Keep both hoses free of twists and kinks.
Start each nut by hand. Keep it straight, then snug it with a wrench. Do not overtighten, force a fitting, or add plumber’s tape to a compression connection. If the fittings do not match, stop and contact Dipper.
- Step 04
Mount it upright.
Choose a spot where both hoses reach without pulling or bending sharply. Secure the bracket with the supplied screws and attach Headwater upright.
Leave room below the filter for cartridge changes. Keep screws clear of pipes and wiring.
- Step 05
Turn on water. Check for drips.
Slowly reopen the cold-water valve. With the faucet off, wipe each connection dry. Use a dry paper towel to check for moisture.
If you find a leak, close the valve and open the faucet to release pressure before adjusting a connection. Then check again.
- Step 06
Flush for five minutes.
Run the faucet on cold for a full 5 minutes before drinking. Air or loose carbon particles should clear as the water runs.
Check the connections while the water runs. Turn off the faucet and check once more.
You’re ready to pour once the flush is done and every connection is dry.
Make a note for next time.
Replace your cartridge at 500 gallons or about 6 months, whichever comes first. Note the date when you fit a fresh one.
Find your replacement filter ↗Replace the filter
Fresh filter. Same tap.
Keep your head and hoses in place. Swap the cartridge, then flush for five minutes.
Before you start
- Have ready: new Headwater cartridge, towel, and small bowl.
- Keep in place: the existing head, bracket, and hoses.
- Allow time: a full 5-minute flush after fitting the new cartridge.
Cold water off. Pressure out.
Headwater has no automatic shutoff. Close the cold-water valve and release pressure at the faucet before disconnecting a hose or changing a cartridge.
- Step 01
Turn off the cold water.
Open your faucet on cold. Close the cold-water valve under your sink until the water stops.
Let the remaining water drain to release pressure, then close the faucet.
If water keeps flowing, stop. Do not remove the cartridge.
- Step 02
Twist. Pull down.
Put a towel and small bowl below Headwater. Hold the head steady and twist the old cartridge to unlock it. Pull it straight down.
A little trapped water may spill. Leave the head and hoses connected.
- Step 03
Align. Push up. Lock in.
Line up the new cartridge’s grooves with the matching parts in the head. Push the cartridge up into the head, then twist until it locks securely.
Do not force it. If the cartridge does not slide into place easily, line it up again.
- Step 04
Turn on water. Check for drips.
Slowly reopen the cold-water valve. Check for leaks where the cartridge meets the head.
If it drips, close the valve and open the faucet to release pressure. Remove the cartridge, fit it again, and recheck.
- Step 05
Flush for five minutes.
Run the faucet on cold for a full 5 minutes before drinking.
Check for leaks while the water runs. Close the faucet and check again. Once the flush is done and everything is dry, you’re ready to pour.
Make a note for next time.
Replace your cartridge at 500 gallons or about 6 months, whichever comes first. Note the date when you fit a fresh one.
Find your replacement filter ↗Need a hand?
A little help, right here.
The water won’t stop. What should I do?
Stop before you loosen a hose or remove the cartridge. The cold-water shutoff must stop the flow before you work on the system. Contact Dipper for help.
What if I find a leak?
Turn off the cold-water valve. Open the faucet to release pressure before you adjust a fitting or refit the cartridge. Check again after turning the water on.
If it still leaks, turn off the cold-water valve and contact Dipper.
Why is the flow low?
Check that the cold-water valve is fully open and both hoses are free of kinks. If flow is still low, contact Dipper.
Need a hand?
Stuck on a fitting or seeing a drip? Stop, turn off the cold water, and get in touch.